
I’ve written about the CSP portal previously, but since then we’ve received a great deal of feedback about the licensing, so I wanted to repost the license management portion solely. If you ever wanted to manage your own Microsoft licenses but still get the support and benefits of going through a partner, KTL has the solution for you.
KTL’s new Cloud Solution Provider (CSP) Portal allows you to add and remove existing licenses easily with real-time integration. Want to add a new license? KTL’s CSP Portal allows you to do that as well, all while being PCI compliant by using a secure payment integration to process transactions.
Managing Licenses is easy and intuitive with KTL’s CSP Portal. By going to the ‘Subscriptions’ page under the ‘Store’ section you can quickly view a list of your subscriptions and add-ons. Clicking on a subscription will take you to the management page where you are able to update the number of licenses that you have.
Updating Existing Subscriptions
Select ‘Add/Remove Licenses’ to open the subscription management popup.

On the left, there is information on the current number of licenses for a product and what the monthly price is for those licenses. On the right, you are able to adjust the license number by setting the ‘Updated Total Licenses’ to the desired number. If you would like to increase your licenses by three, and the current amount is 11, then the desired number would be 14. You can also see what your new monthly price would be, based on the changes you have made. Once satisfied with the number of licenses, simply select ‘Add to Cart.’
Adding an Addon to an Existing Subscription
Select ‘Add Offers’ next to ‘AddOns’ and you will be greeted with the addon page.

Increment an addon to the desired quantity and then select ‘Add Offers to cart.’ Some add-ons may not be available until a prerequisite is added. Once you have the correct prerequisite, you will be able to checkout with the desired addon.
Adding a New Product
Adding a new product is similar to adding an addon. To add products, select the ‘Products’ link under the ‘Store’ section. You will be greeted with a searchable list of available products. Clicking into a product gives you the option to add the product as well as add addons for the product if desired.

When you have the desired quantity, select ‘Add Offer to Cart.’
Checking Out
Once you have made the desired license quantity changes, you are able to purchase them by selecting the cart in the top right-hand corner.

From this screen, you can view the quantity changes you have made as well as the new monthly cost of these changes. If you decide that you do not want one of these licenses, you are able to delete a cart item by selecting the delete icon. When you are satisfied with the changes, select Checkout to review the prorated price of the licenses before paying the amount.
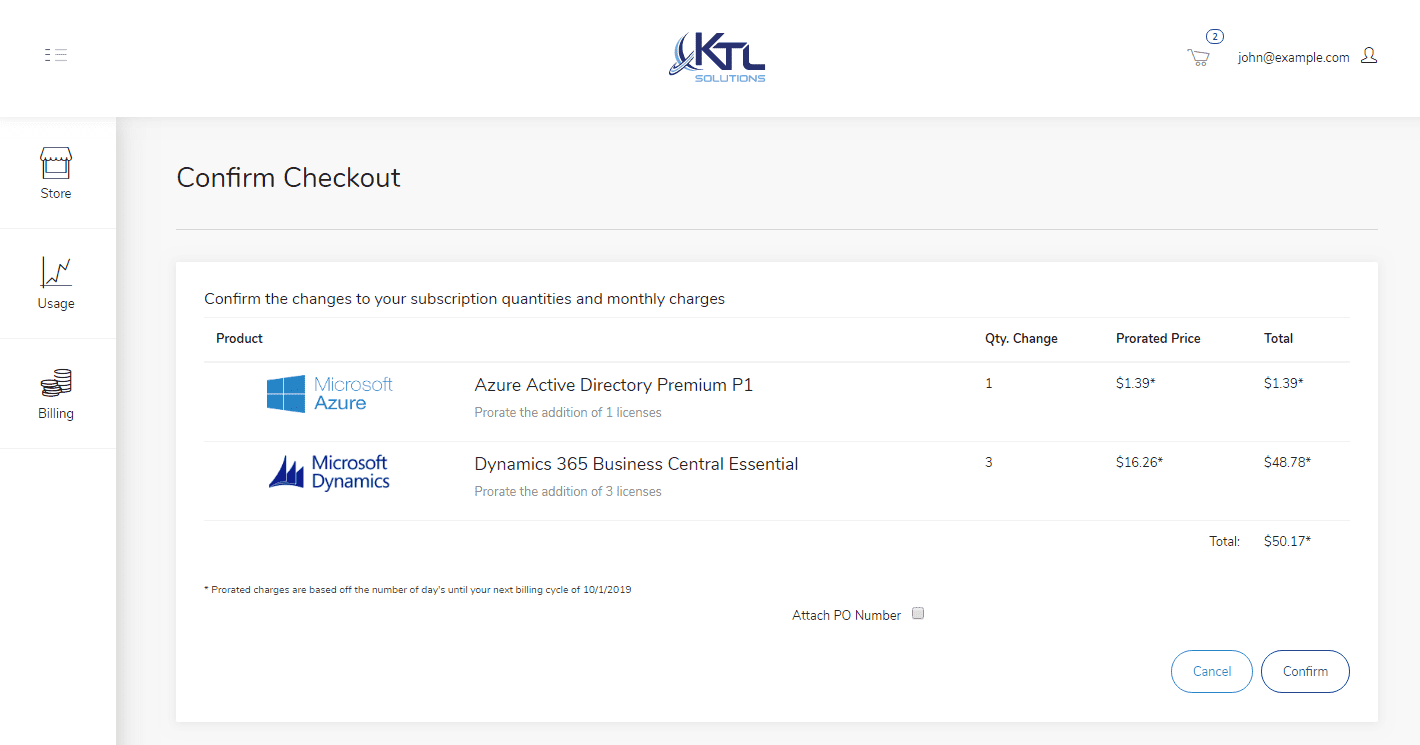
Attach a PO number by checking the ‘Attach PO Number’ checkbox and enter a PO number in the text box that appears next to the checkbox. Select Confirm to be redirected to pay for the licenses or cancel to go back.