Written By Argie Radics
Setting up Power Query for Business Central reporting takes about five minutes. After that, it stays connected.
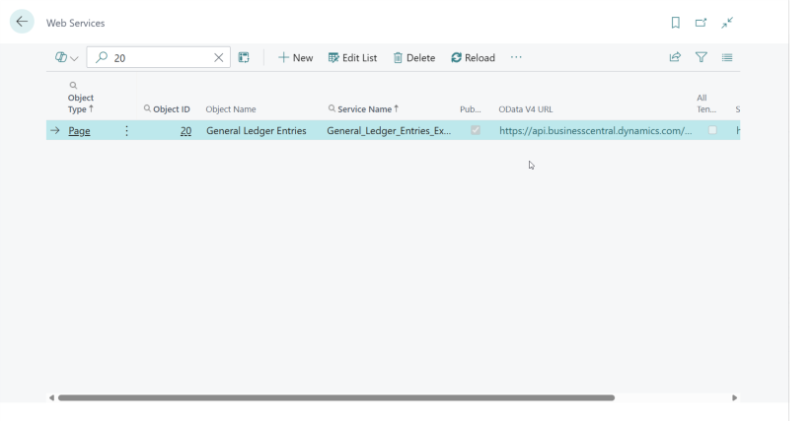
Step 1: Publish the G/L Entry Web Service in Business Central
Go to Web Services in Business Central and publish Page 20 (G/L Entry).
Step 2: Open Excel and Connect to OData
In Excel, go to Data → Get Data → From OData Feed.
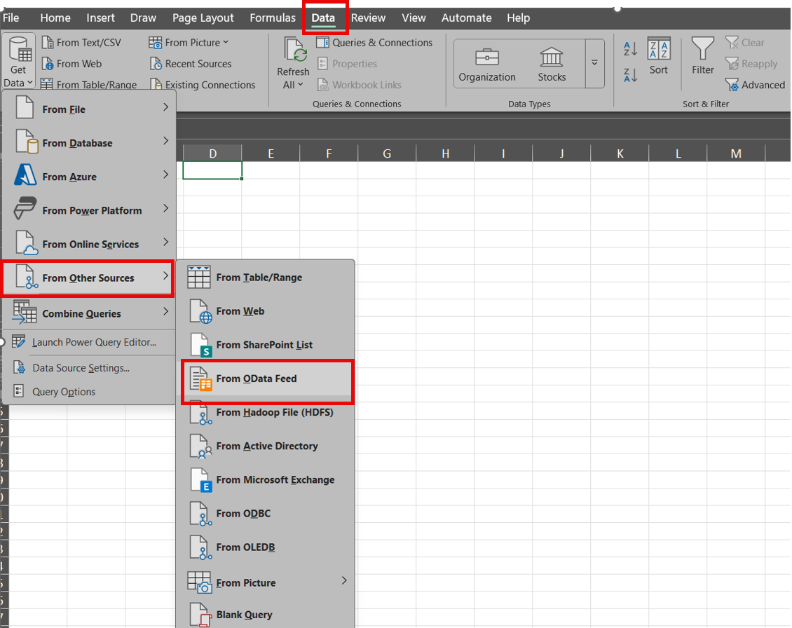
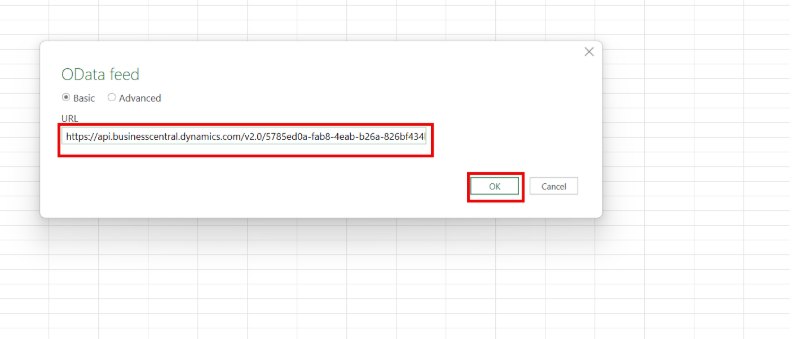
Step 3: Paste the OData V4 URL
Copy the URL from Business Central.
It will end with something like /ODataV4/GL_Entry.
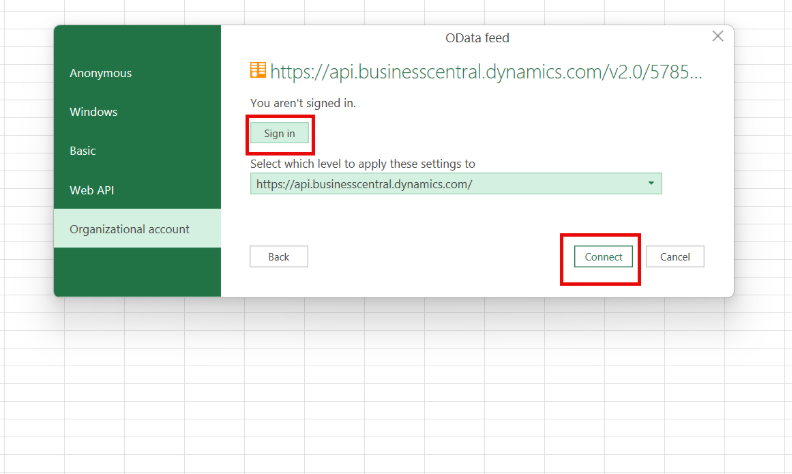
Step 4: Sign In with Microsoft 365
Use the same Microsoft 365 credentials you use for Business Central.
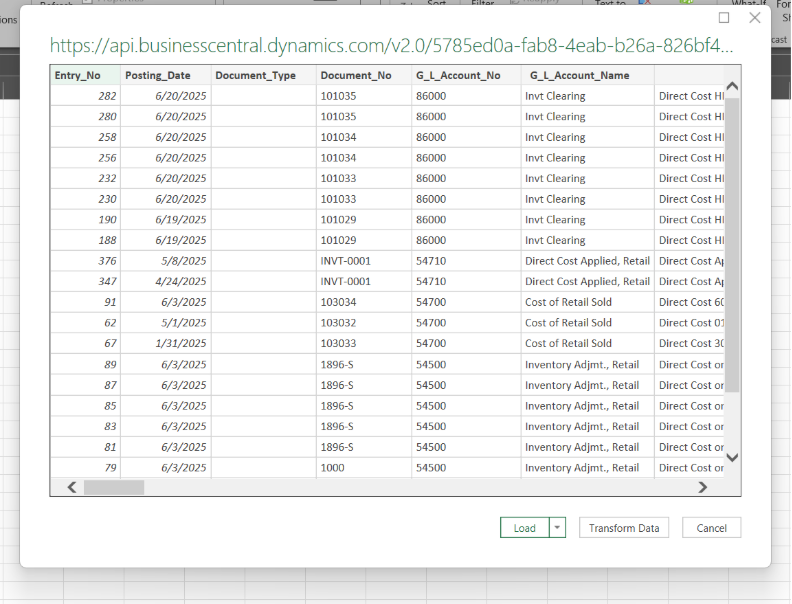
Step 5: Select the G/L Entry Table
You’ll see a preview of the data.
At this point, just select the table—you can clean it later.
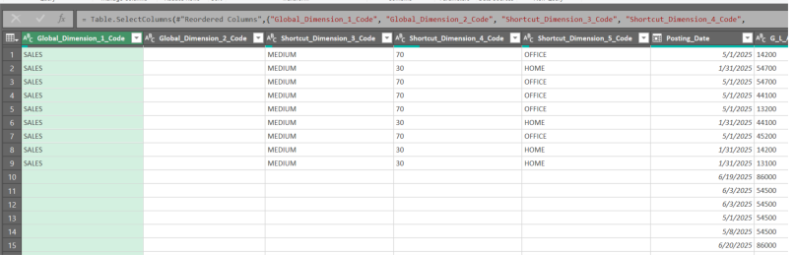
Step 6: Use Dimensions Already Included
Business Central’s OData V4 feed already includes all dimensions directly in the table.
No expanding.
No merging.
They’re just there.
Step 7: Load to a Table or Data Model
Either option works perfectly for pivot tables and slicers.
Step 8: Refresh Anytime
The connection stays live.
No exporting.
No rebuilding. Just refresh and move on.
Microsoft’s Direction: OData V4 and Power Query
Microsoft continues to invest heavily in OData V4 for Business Central.
With every release, more fields flow directly into the G/L Entry feed.
Because of that, using Power Query for Business Central reporting aligns with where Microsoft is already heading—rather than fighting the platform.
Final Thoughts: Skip the Flashy Dashboards
Business Central already has enough complexity.
Your reports shouldn’t add more.
Power Query for Business Central reporting is:
- Clean
- Fast
- Reliable
- Built for explaining what actually happened in the ledger
So next time someone asks for a “quick report,” skip the dashboard.
Open Excel.
Use Power Query.
Get it done.