
PaperSave Recapture allows documents to be directed associated to a Dynamics GP Transaction. In this blog, I wanted to address the additional capturing options available without using the need to process the document through a PaperSave Workflow and to automatically associate the document to a Dynamics GP Transaction. In order to use PaperSave recapture, the software must be installed with the Recapture Software along with the CarolinaBar-B39-25F2-* fonts.
Capture Methods
Adding Documents to Dynamics GP via the PaperSave Recapture Function
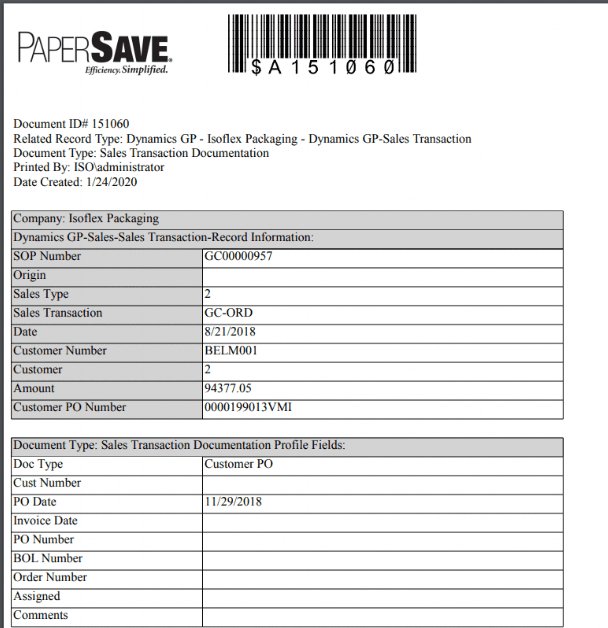
PaperSave Recapture allows the user to print a Dynamics GP document or Other document in the system and have it directly associated with the Dynamics GP Transaction. The document being printed must have a barcode on the first page that indicates which transaction it is to be associated to. The barcode must be formatted in a specific way using the CarolinaBar-B39-25F2-* font and 14 points in size. An example format is below:
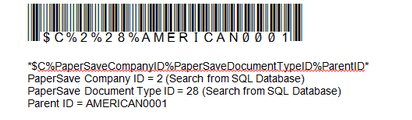
The Company ID refers to the PaperSave ID for the Dynamics GP company. This can be found by querying the PaperSave Database with the following command:
Use PaperSave
Selectc.ID as [PaperSaveCompanyID], c.CompanyName From Company c
The Document Type ID refers to the PaperSave Document Type ID for the Dynamics GP Transaction Type. This can be found by querying the PaperSave Database with the following command:
Use PaperSave
Select [ID], [Name] from DocumentType
The Parent ID refers to the unique value for the transaction type.
Add a Document to GP through PaperSave Recapture Printer
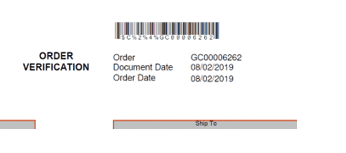
Open the document with the barcode defined as above that you would like to add to a Dynamics GP transaction. The document may be from any source such as GP, Word, PDF, etc.
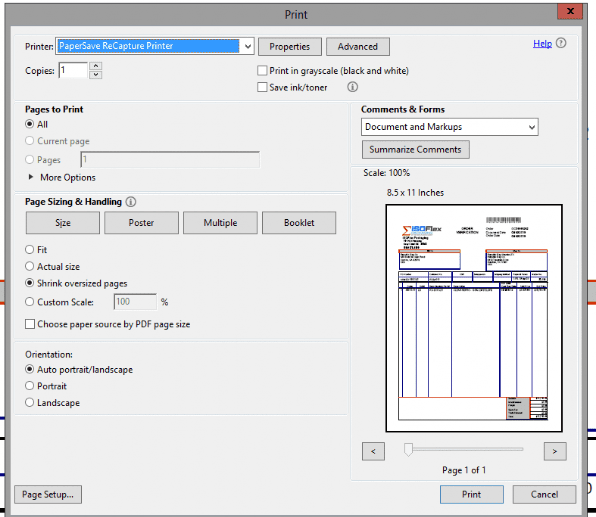
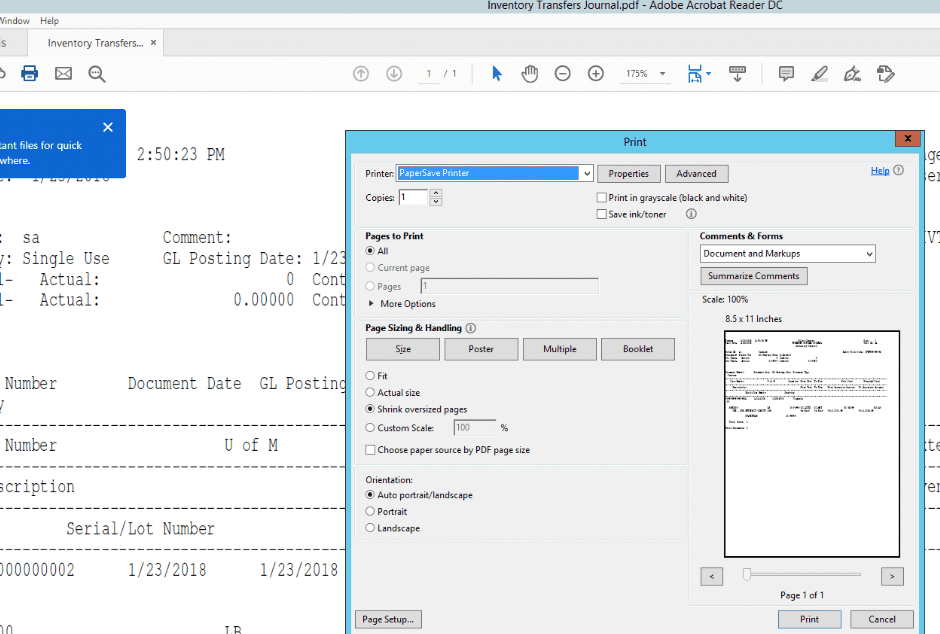
 Print the Document and select the PaperSave ReCapture Printer.
A successful submission message will be display and the document will be automatically added to the Dynamics GP transaction.

Click No for the log.
Add a Document to GP through PaperSave Recapture Scan Later Folder or Drop Point
Create a TIFF file with the barcode formatted as above on the first page of the document. Then, open File Explorer and locate the [server]\PaperSave\Scan Later folder where the PaperSave workflow folders are located.

Copy the TIFF file to the Scan Later folder. The TIFF will be Processed through PaperSave and be automatically attached to the GP transaction indicated by the barcode.
Add a Document to GP through PaperSave Recapture with the PaperSave Scan Function
(The document will have to have the barcode formatted as above on the first page of the scanned pages.)
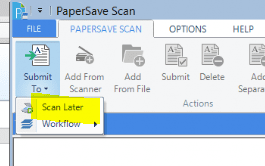
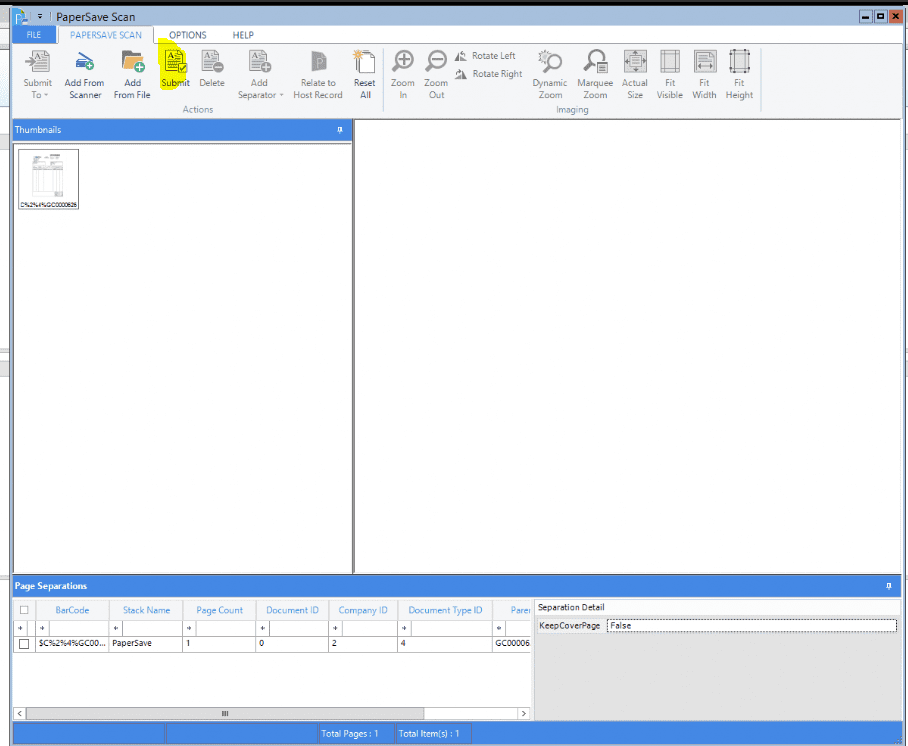
Select the PaperSave Scan application.
![]()
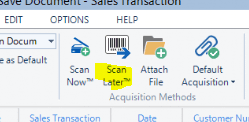
Select the Submit To option and then select Scan Later.
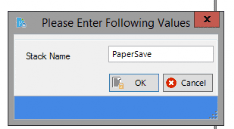
Select Add from Scanner or Add From File and enter a Name for the Stack.
If you’re using Add from Scanner, scan the document.
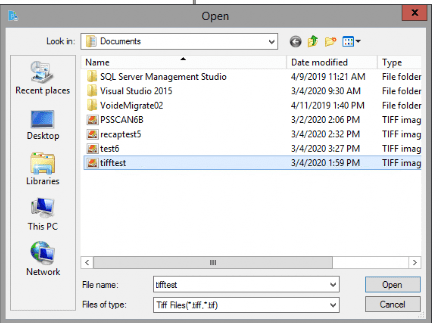
If you’re using Add from File (The document loaded will have to be in a TIFF format and include the barcode on the first page of the file being added as defined above), locate and select the TIFF document to attach and click the Open button.
Click the Submit button on the toolbar to process the scan to Dynamics GP.
A successful submission message will be display and the document will be automatically added to the Dynamics GP transaction.
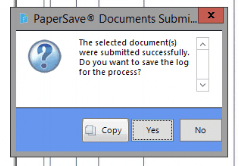 Click No for the log.
View Any of the PaperSave Attached Documents
Open the Dynamics GP Transaction. Click Additional – PaperSave – Show Documents.
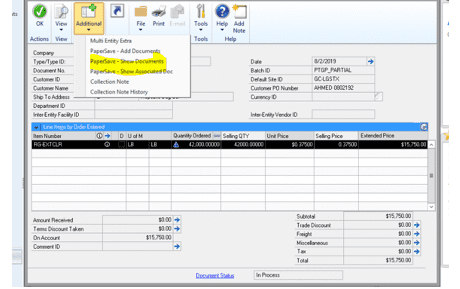
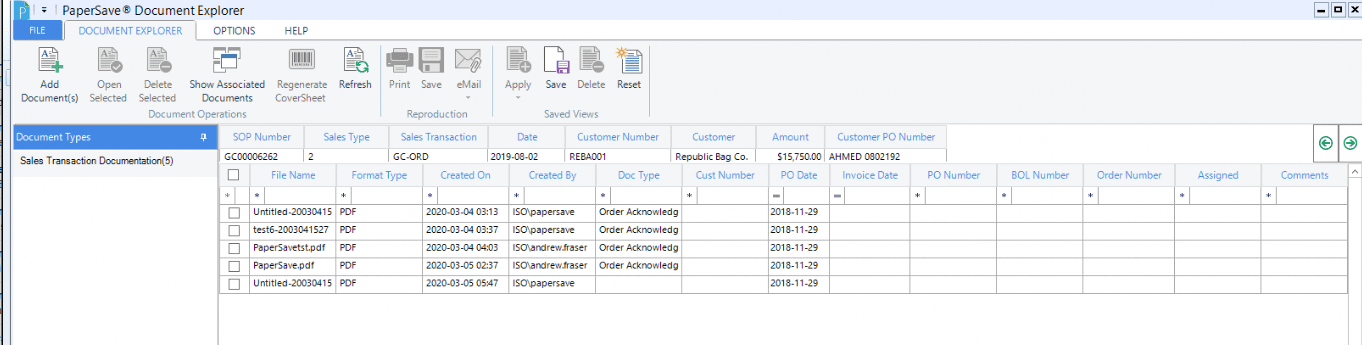
The attached documents will be displayed.
Add Documents to Dynamics GP via the PaperSave Scan Later Function
This function allows the user to add documents into Dynamics GP by using the PaperSave Scan Later Function. The user needs to printout a PaperSave Scan Later barcode cover sheet to associate a single or multiple documents to. Then the document(s) starting with the barcode cover sheet may be either dropped in the Scan Later folder or scanned via the Scan Later functionality.
To add a document to Dynamics GP through PaperSave Scan Later Function:
- Open the document in Dynamics GP.
- Click on Additional – PaperSave Add Documents.

Enter PaperSave Profile Fields that are required. Then, click the Scan Later Icon on the toolbar.
Print the barcode cover sheet to associate documents to.
When the user gets the content pages for the barcode coversheet, take a print out of the barcode generated coversheet and place the coversheet on top of the content pages and then place it into your scanner and then start the DropPoint Processing Service and then the batch item will be processed and integrated directly to the Dynamics GP.
Scan or drop file to the Scan later folder at [server]\papersave\Scan Later.
Add Documents to Dynamics GP via the PaperSave Printer
This function allows the user to add documents into Dynamics GP by using the PaperSave Printer. To add a document to Dynamics GP through the PaperSave Printer:
- Open the document.
- Print the document to the PaperSave Printer.
Choose the Transaction Type from the Grid on the left.

Select the Search Field based on the Transaction Type and enter the Criteria or Value. Then, click the Search button to display the available Dynamics GP Records.

Select the record to associate the document to. Click the Select Button.
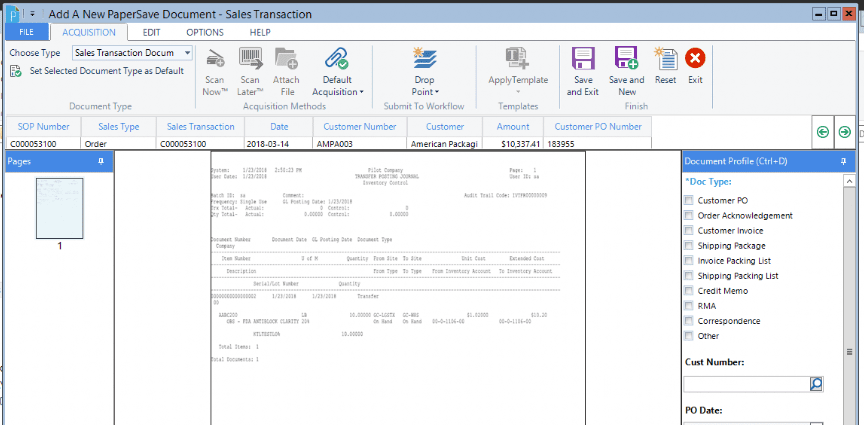
Fill out the appropriate Profile fields. Click Save and Exit.
Add Documents to Dynamics GP via the File Explorer
This function allows the user to add documents into Dynamics GP by using the File Explorer in Windows. To add a document to Dynamics GP through Windows File Explorer:
- Locate the file to be associated to a Dynamics GP Record.
- Right Click on the Document.
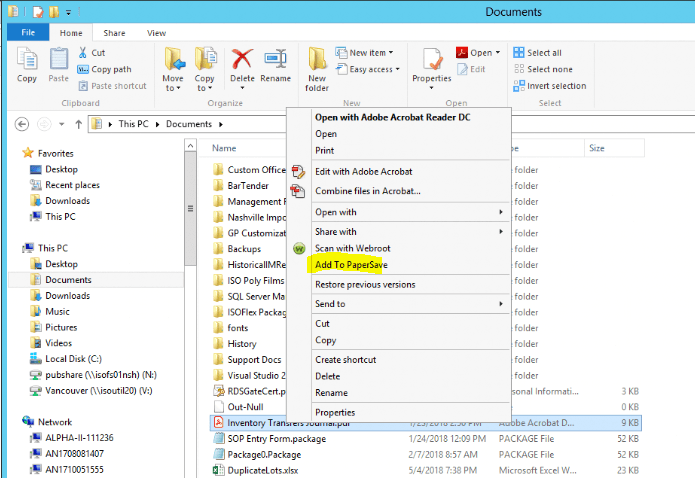
Click Add to PaperSave. Choose the Transaction Type from the Grid on the left.
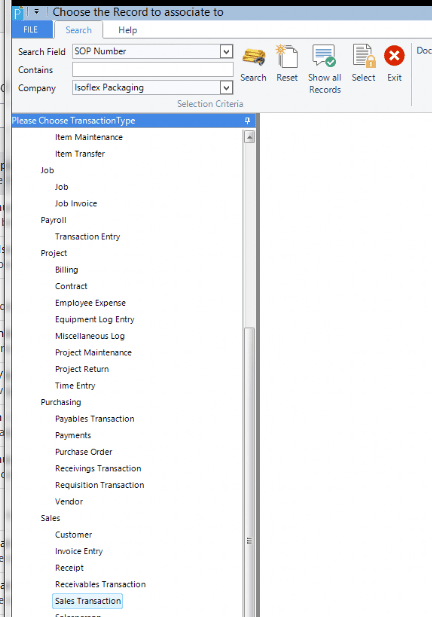
Select the Search Field based on the Transaction Type.
Enter the Criteria or Value.
Click the Search button to display the available Dynamics GP Records.

Select the record to associate the document to and click the Select Button.

Fill out the appropriate Profile fields. Then, click Save and Exit.