Written By Cheryl Shephard
A key feature in Dynamics 365 Business Central is the ability to create bank deposits via copy and paste. This feature allows users to quickly transfer data from Excel into the Bank Deposit page, reducing manual entry and speeding up the deposit process.
In this guide, we’ll walk you through the steps to copy and paste bank deposits, handle common errors, and post deposits efficiently.
Preparing Your Data
Before pasting into Business Central, make sure your Excel spreadsheet matches the Bank Deposits page column structure. Misaligned columns will prevent the data from importing correctly.
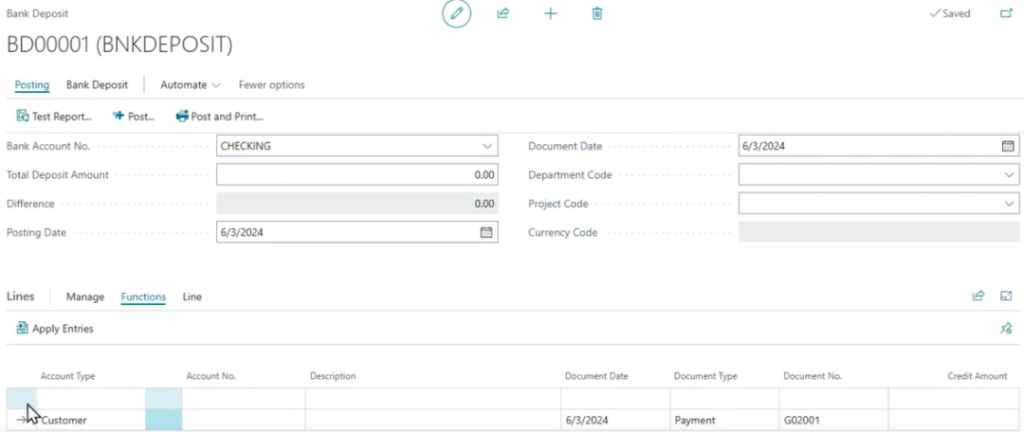
Business Central: Open the Bank Deposit page, then create a new deposit or open an existing one.
Excel: Highlight the data you want to paste, excluding the header row.

Copying and Pasting Data
- In the Bank Deposit Lines section, select the leftmost cell of an empty line.
- Paste your Excel data into Business Central. The system validates the Account Type and Account No. automatically.
Note: Business Central does not validate if the deposit is balanced—you need to check this manually.
Handling Errors
If there are errors, such as an incorrect account number, the system will prevent the paste. Correct any mistakes in Excel or directly in Business Central before trying again.
Completing the Bank Deposit
- Enter the Total Bank Deposit Amount in the header to ensure the difference is zero.
- Fill in any other required fields, such as dimensions.
- Optionally, use Apply Entries to link payments to specific customer invoices.
- Decide whether to post as a lump sum or as individual lines.
Posting the Deposit
- Select Posting, then run the Test Report to check for errors.
- Once verified, choose Post or Post and Print to finalize the bank deposit.
Additional Resources
- Learn more about Bank Deposits in Business Central.
- Explore Dynamics 365 Financial Management for additional guidance.
- Contact KTL today